
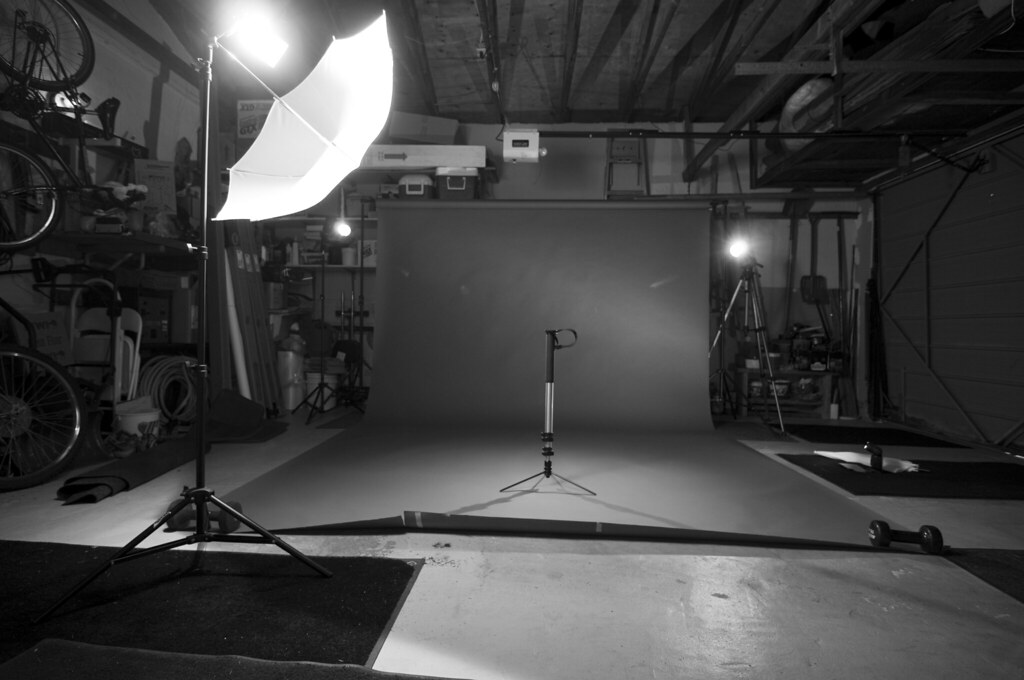
Opened up the thunder gray for Benjamin's shoot. Lovely neutral colour but more difficult to use than I expected!
Using the white seamless for a high key look is easy, it's fail safe. It's a simple, elegant set up and hard to screw up; Two lights nuking the backdrop, light the subject properly and voilà.
The gray requires more thought and understanding. It is very versatile so it's only natural that there are a lot of different setups that result in different looks. Understanding lighting ratios are important and I am still a newb at this. I also found a lot of blemishes (ripples) in the gray backdrop that shows up quite a bit, I think I'll either need to go lighter or darker to avoid this.
I tried a few things to get it right and in the end I think I still screwed it up. It doesn't make it easier when the subject runs all over either (especially with the rim light)
I would like to take you through my thought process in my learning experience step-by-step.
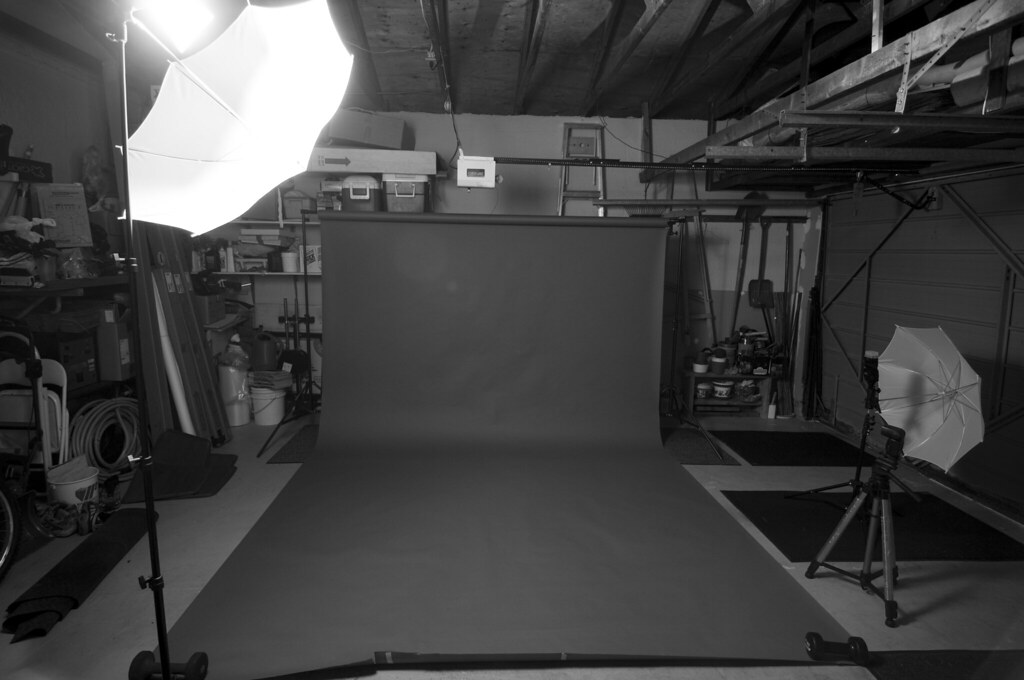
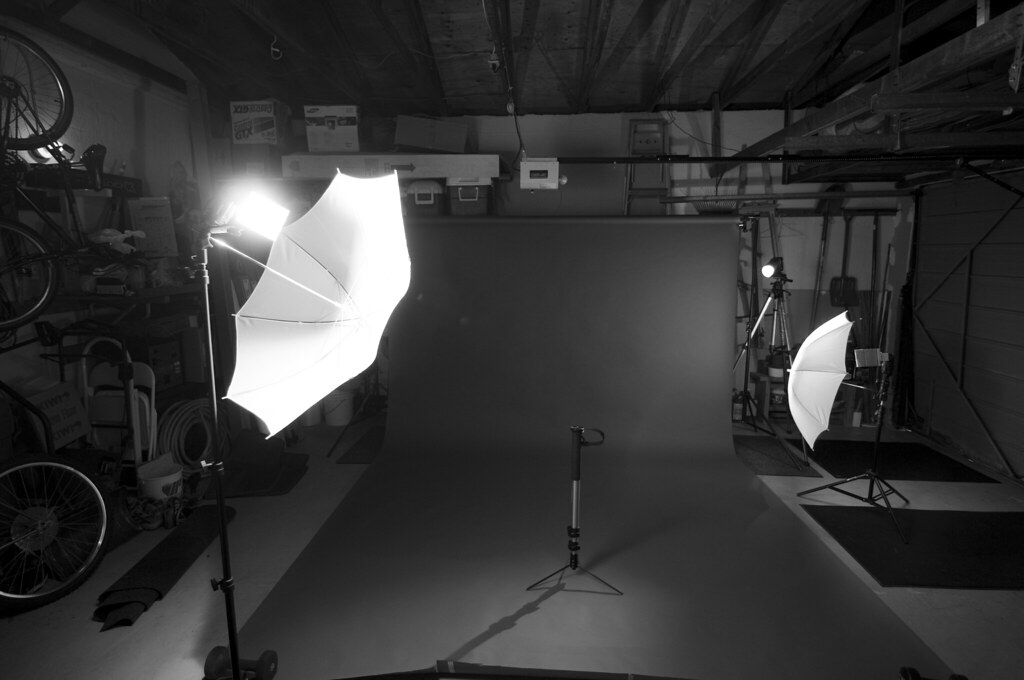
1) First thing after setting up the backdrop was to position my key light. This position was too much off to the side and I would get too much shadows emphasized on once side of the subject.

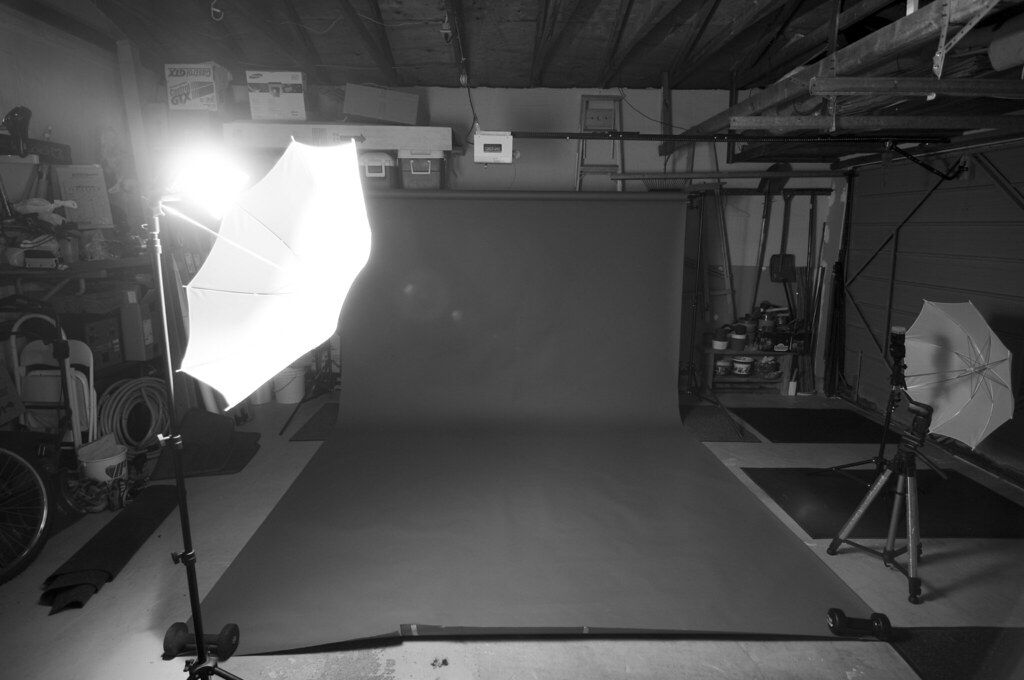
2) Moved the key more towards the front so it's more or less camera left @ 45 degrees. However there's too much spill into the background. I also added a flag to prevent the spill from the side of the umbrella. Simple solution: cardboard + elastic band.
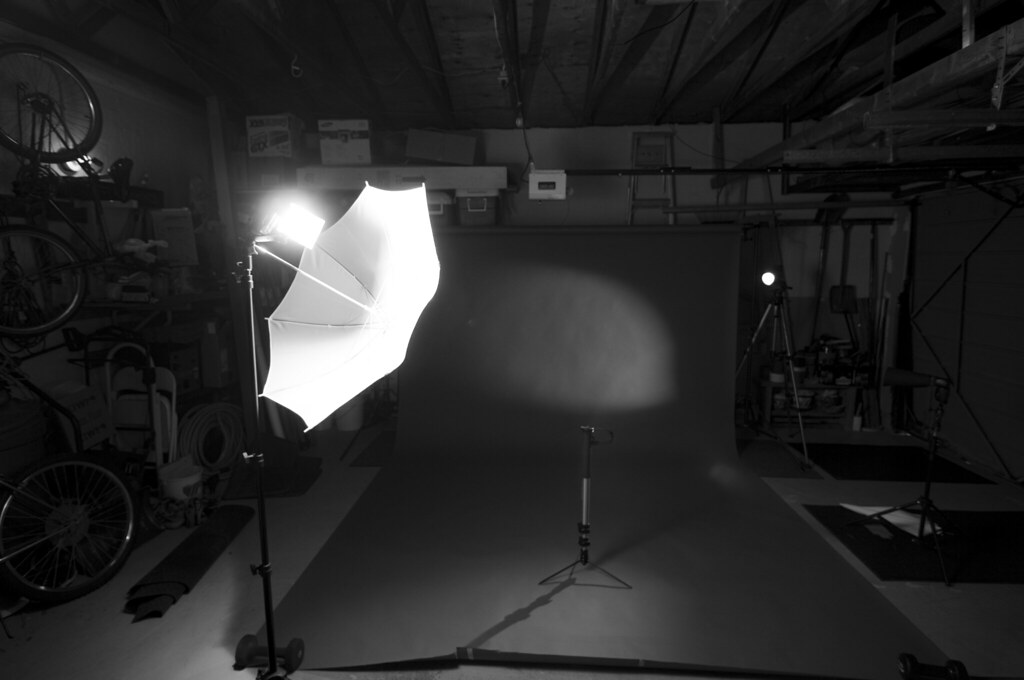
3) Lowered the flash since my subject is Ben and he's tiny. This offers more control of the light and reduced the spill onto the background. A boom would definitely help this since I can get the light closer to the subject without the lightstand being in the way. Ideally, I would have more space between the subject and background but as you can see I don't live in a mansion and is too cheap to rent a studio.
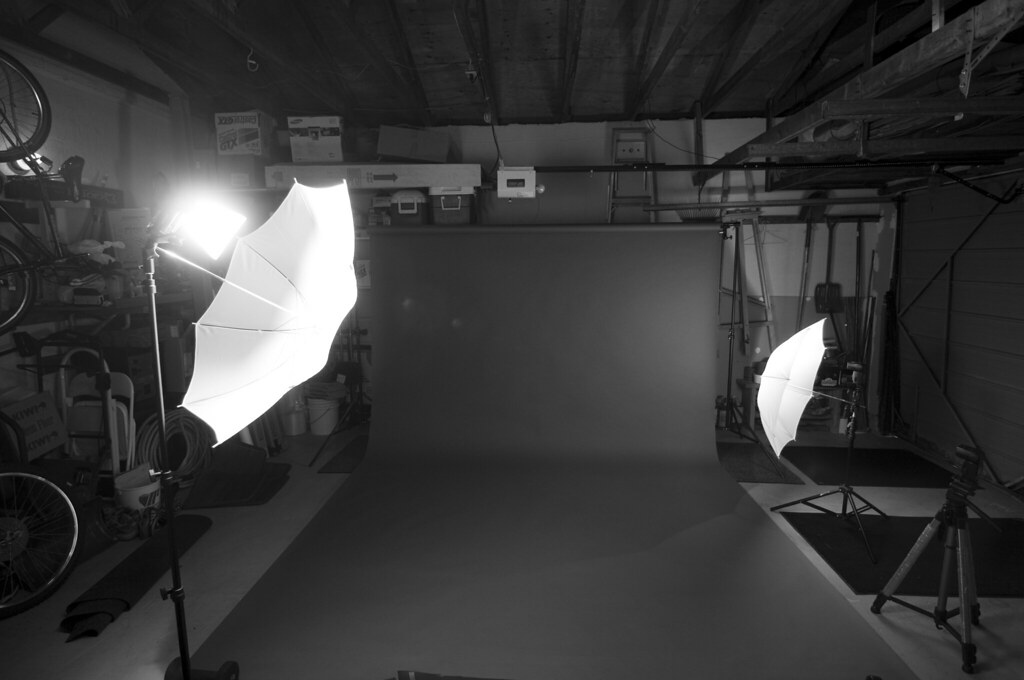
4) Introduced a background light. Wanted to create a nice fad in the back. Here, you can see it could use some adjustments. The diffuser dome also created too much spread and the light spilled from the side of the umbrella to the ground.

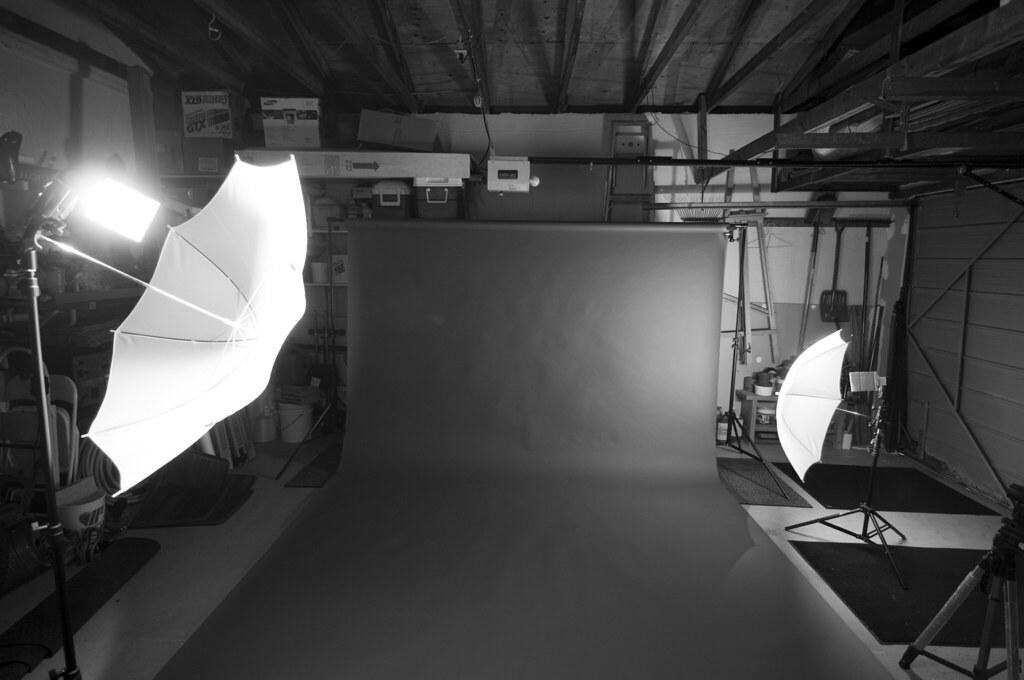
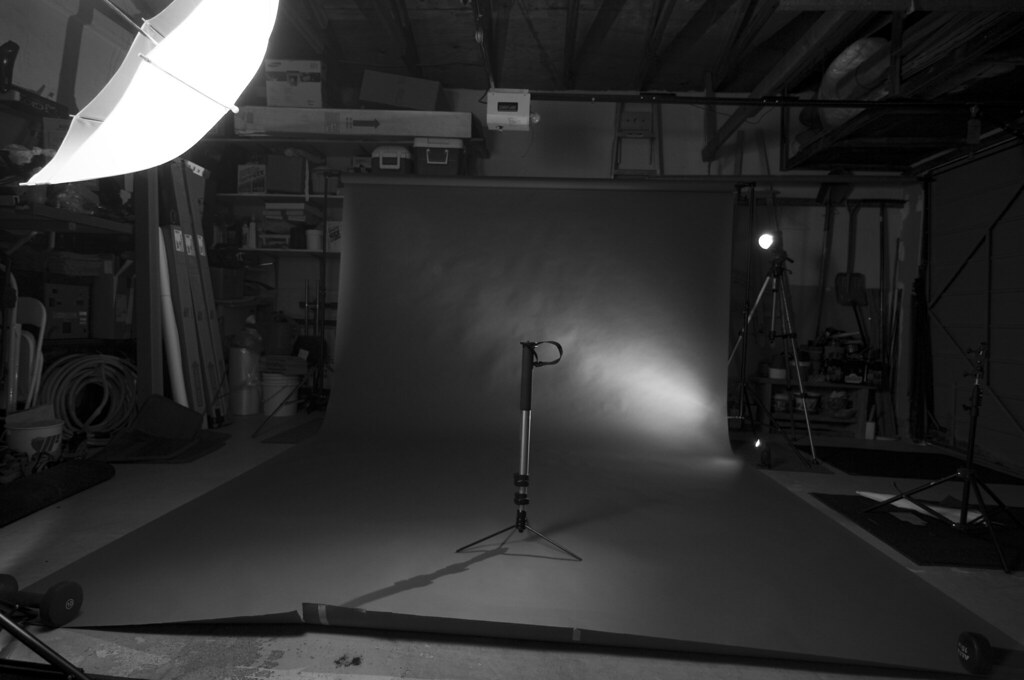
5) Took off the diffuser dome and there's still some spill.
6) Flagged it to reduce the spill even more but there's still a bit but it's at an area off to the side that I probably won't be shooting at. Also jacked up the power to increase the fad area. My ghetto flags are more visible in this shot.
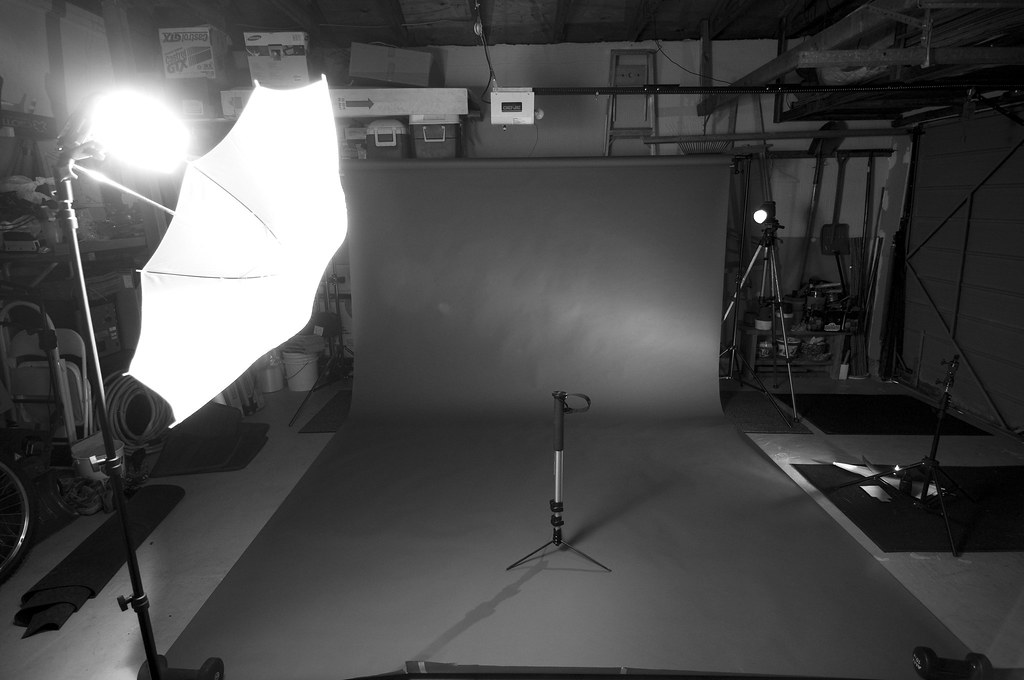
7) Next I introduced a rim light. This was with no light modifiers.

8) I found that it there was too much spread and put on a snoot. This concentrated the area and would reduce any flares in case the rim light spill straight into the lens. I'm still not too sure about this because the rim light created a pretty harsh shadow on the ground. I think I should have lowered the flash and directed it more parallel to the ground so that light doesn't spill on the ground. The problem is Ben is going to be running around so much that it will make it difficult for the rim light to land on the right spot unless I have a voice activated lightstand (PYeung) that would always point the rim to the subject.
9) Back to the background light and more experimenting. I ditched the umbrella and snooted the flash. I ditched the snoot after this shot because my ghetto snoot (piece of black foam) sucked and didn't give a nice shape and the fact that Ben would run around too much to make the spot look good because it'll rarely be directly behind his head and would need to be moved constantly to center it (pretty much impossible)
10) Took the flash off the stand and placed it on the ground with no modifiers to try to go for a simple streak of light. Zoomed into the SB-800's most telephoto setting (105mm). I placed it right beside the seamless.
11) Just testing out what different distances and angles would result with and I was fairly happy with this.
12) Last thing I tried out was to have two rim lights. I think this might work with a portrait of a person, but not with a little dog that will be moving constantly. I ultimately ditched this and went back to #11's setup because taking the SB-900 off as the commander to get that 4th flash in, I would have to sacrifice a flash group since the in camera CLS system only offers two group of control.
There's still a lot of experimentation to do with this colour. Advice and feedback needed!!
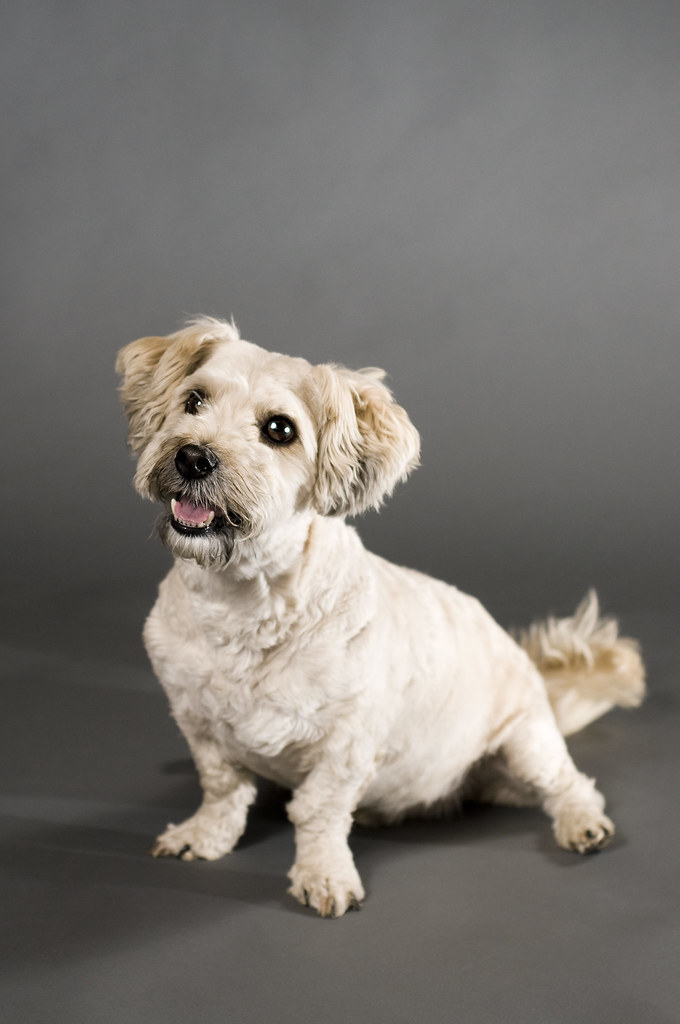


What a cute pup! All that off camera stuff confuses me sometimes, so thanks for the info :)
ReplyDeleteNice writeup. Great work!
ReplyDeleteGreat writeup!
ReplyDeleteThanks for visiting everyone! Glad this was help to someone.
ReplyDelete